Introduction
With my preferred Git repository hosting provider preparing to introduce some
changes that don't cohere with my philosophical ideals, I finally decided to
make the move to Fossil. Git has never been favoured but its ubiquity made it
hard to ignore. The OpenBSD development of got was more than a desireable
improvement but now that I needed to self-host, there was no longer an obstacle
to using Fossil that could be avoided by staying with Git—and so I switched.
Fossil is super simple, clean, and consistent—making source code management and
version control easy. In the same vein, installation and setup is just as
painless. On that note, the following presumes an OpenBSD 6.7 installation.
Install Fossil
Use pkg_add to install Fossil; select the statically linked binary.
bsdbox# pkg_add fossil
quirks-3.325 signed on 2020-06-12T06:24:53Z
Ambiguous: choose package for fossil
	0: <None>
	1: fossil-2.10v0
	2: fossil-2.10v0-static
Your choice: 2
fossil-2.10v0-static: ok
bsdbox#
Because it's installed into the chroot, create a symbolic link of the fossil
executable into /usr/local/bin (for using locally on the server; this can be
avoided otherwise).
bsdbox# ln -s /var/www/bin/fossil /usr/local/bin/fossil
Create the file /var/www/cgi-bin/scm with the following contents to make the
CGI script that httpd will execute in response to cvs.domain.tld requests;
all paths are relative to the /var/www chroot.
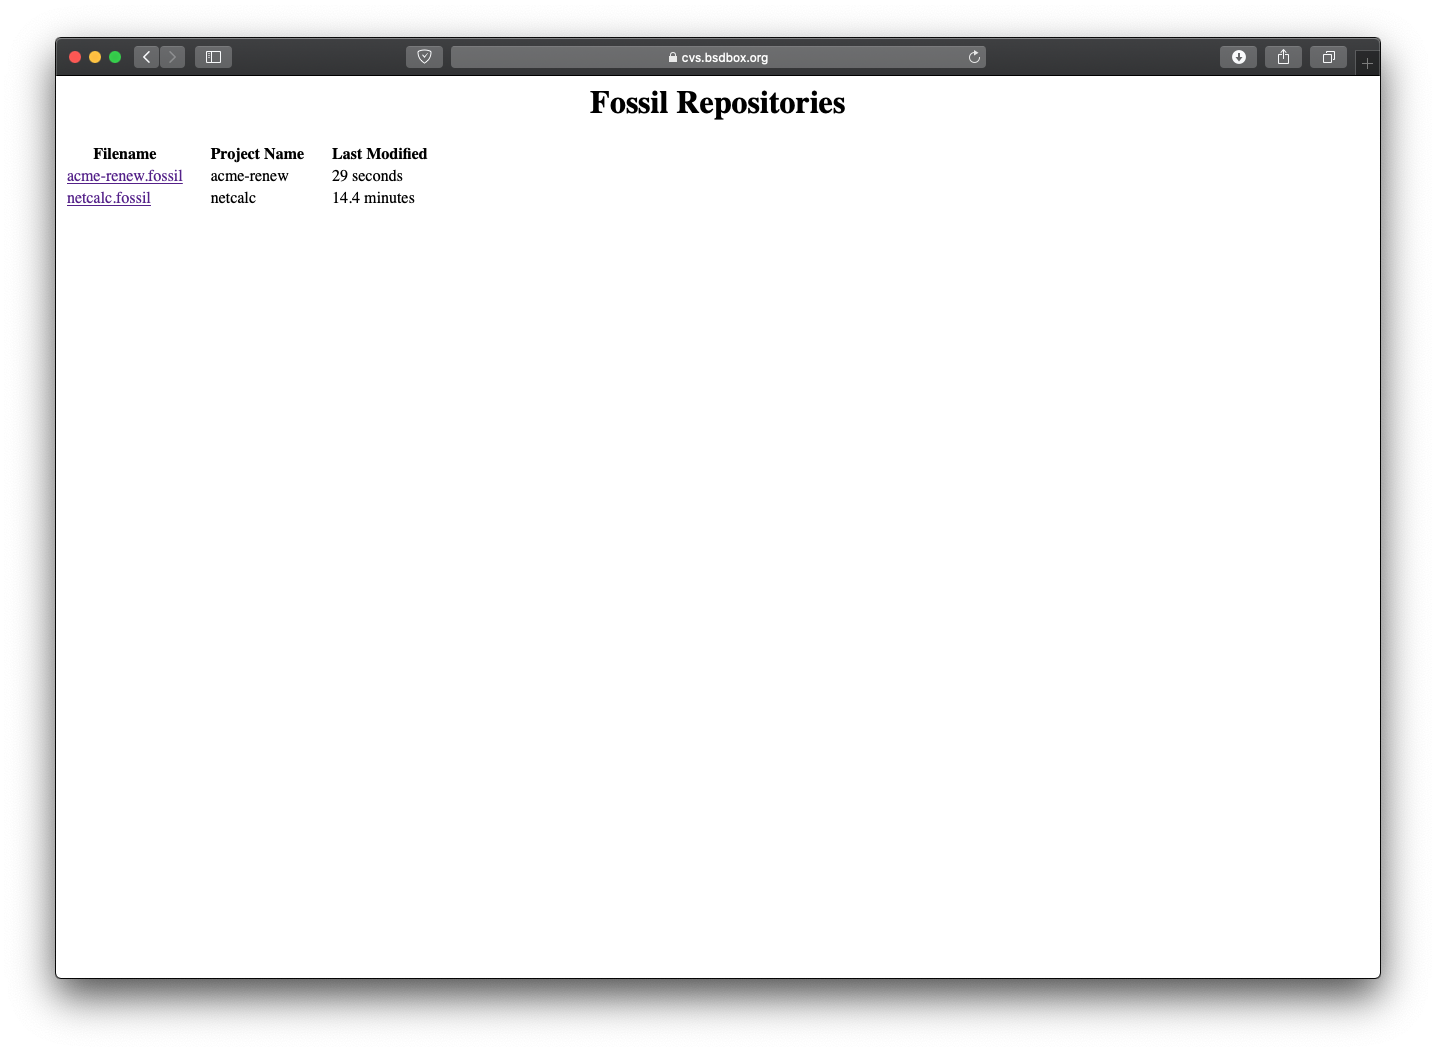
#!/bin/fossil
directory: /htdocs/cvs.domain.tld
notfound: https://domain.tld
repolist
errorlog: /logs/fossil.log
The directory directive instructs Fossil to serve all repositories found in
/var/www/htdocs/cvs.domain.tld while errorlog sets logging to be saved to
/var/www/logs/fossil.log; create the repository directory and log file—making
the latter owned by the www user, and the script executable.
bsdbox# mkdir /var/www/htdocs/cvs.domain.tld
bsdbox# touch /var/www/logs/fossil.log
bsdbox# chown www /var/www/logs/fossil.log
bsdbox# chmod 755 /var/www/cgi-bin/scm
Setup chroot
Fossil needs both /dev/random and /dev/null, which aren't accessible from
within the chroot, so need to be constructed; /var, however, is mounted with
the nodev option. Rather than removing this default setting, we'll build
a small memory filesystem and then mount it on to /var/www/dev with
mountmfs(8) so that the random and null device files can be
created. In order to avoid neccessitating a startup script to recreate the
device files at boot, we'll create a template of the needed /dev tree to
automatically populate the memory filesystem.
First, to make the mountable memory filesystem permanent, add the following
line to /etc/fstab as a privileged user.
swap /var/www/dev mfs rw,-s=1048576,-P=/template/dev 0 0
Then execute the following commands.
bsdbox# mkdir /var/www/dev
bsdbox# install -d -g daemon /template/dev
bsdbox# cd /template/dev
bsdbox# /dev/MAKEDEV urandom
bsdbox# mknod -m 666 null c 2 2
bsdbox# mount /var/www/dev
bsdbox# ls -l /var/www/dev
total 0
crw-rw-rw-  1 root  daemon    2,   2 Jun 20 08:56 null
lrwxr-xr-x  1 root  daemon         7 Jun 18 06:30 random@ -> urandom
crw-r--r--  1 root  wheel    45,   0 Jun 18 06:30 urandom
In this installation, we're going to grant repository directory ownership to
the user who will push to, pull from, and create repositories. In addition, the
same user that executes the fossil binary must have writable access to the
repository directory specified above in the CGI script, which on OpenBSD is
www.
bsdbox# chown -R user:www /var/www/htdocs/cvs.domain.tld
bsdbox# chmod 775 /var/www/htdocs/cvs.domain.tld
Configure httpd
Enable and start =slowcgi=—OpenBSD's FastCGI wrapper server that executes CGI scripts.
bsdbox# rcctl enable slowcgi
bsdbox# rcctl start slowcgi
slowcgi(ok)
Edit /etc/httpd.conf to setup the server, which will automatically redirect
standard http requests to https; apart from Let's Encrypt challenges issued in
response to acme-client certificate requests.
server "cvs.domain.tld" {
	listen on * port http
	root "/htdocs/cvs.domain.tld"
	location "/.well-known/acme-challenge/*" {
		 root "/acme"
		 request strip 2
	}
	location * {
		 block return 301 "https://$HTTP_HOST$REQUEST_URI"
	}
	location  "/*" {
		 fastcgi { param SCRIPT_FILENAME "/cgi-bin/scm" }
	}
}

server "cvs.domain.tld" {
	listen on * tls port https
	root "/htdocs/cvs.domain.tld"
	tls {
		 certificate "/etc/ssl/domain.tld.fullchain.pem"
		 key "/etc/ssl/private/domain.tld.key"
	}
	hsts {
		 max-age 15768000
		 preload
		 subdomains
	}
	connection max request body 104857600
	directory index "index.cgi"
	location  "/*" {
		 fastcgi { param SCRIPT_FILENAME "/cgi-bin/scm" }
	}
	location "/.well-known/acme-challenge/*" {
		 root "/acme"
		 request strip 2
	}
}
Before starting
httpd, ensure you have a zone record for the subdomain with your registrar or nameserver. Then follow this guide to get a free HTTPS certificate from Let's Encrypt using acme-client(1), ignoring thehttpd.confconfiguration, which has already been done here.
Once the certificates and key are in place, confirm the syntax of httpd.conf
before restarting the server.
bsdbox# httpd -vnf /etc/httpd.conf
configuration OK
bsdbox# rcctl restart httpd
httpd(ok)
httpd(ok)
Client Setup
To facilitate creating new repositories and pushing them to the server, add the
following function to your ~/.cshrc or ~/.zprofile or the config file for
whichever shell you are using on your development box.
finit() {
	fossil init $1.fossil && \
	chmod 664 $1.fossil && \
	fossil open $1.fossil && \
	fossil user password $USER $PASSWD && \
	fossil remote-url https://$USER:$PASSWD@cvs.domain.tld/$1 && \
	rsync --perms $1.fossil $USER@cvs.domain.tld:/var/www/htdocs/cvs.domain.tld/ >/dev/null && \
	chmod 644 $1.fossil && \
	fossil ui
}
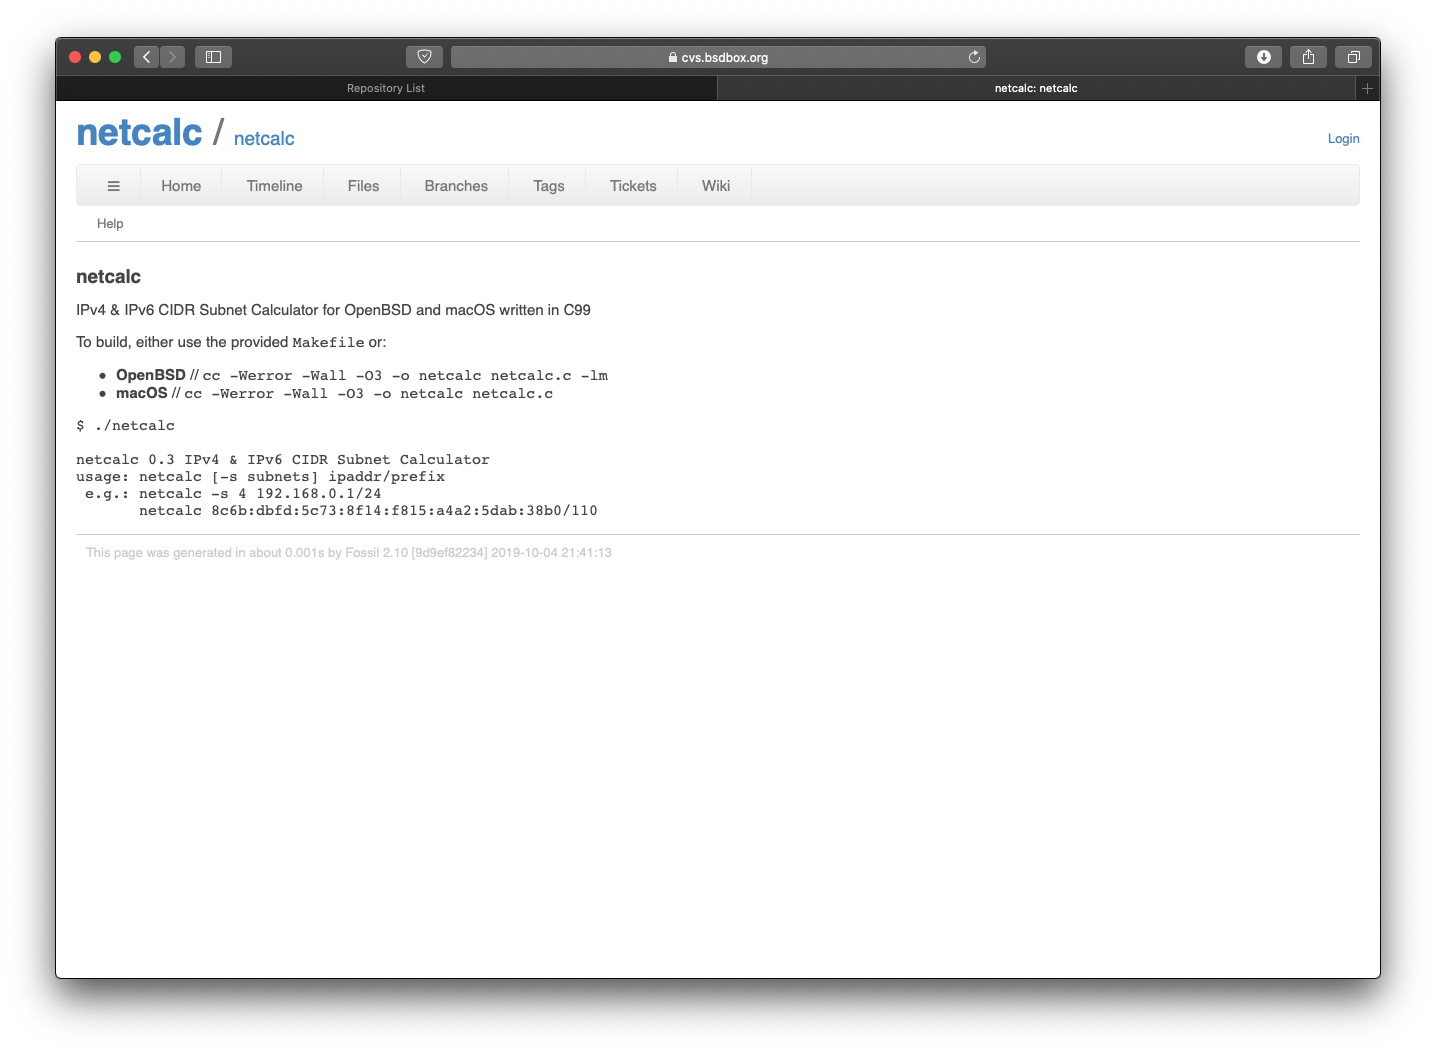
Now a new repository can be made with finit repo, which will create the
fossil repository file repo.fossil in the current directory; by default, the
repository user is set to the environment variable $USER. It then opens the
repository and sets the user password to the $PASSWD environment variable
(which you can either set with export PASSWD 'password' on the command line
or add to a secured shell environment file), and the remote-url to
https://cvs.domain.tld/repo with the credentials of $USER who is authenticated
with $PASSWD. Finally it rsync's the file to the server before opening up the
local repository in your browser where you can adjust settings such as
anonymous user access and set other repository details. Thereafter, you can add
files with fossil add, and commit with fossil ci -m 'commit message' where
Fossil, by default, will push to the remote-url server. It's suggested you
read the Fossil documentation; with a sane and consistent development
model, the system is much more efficient and cohesive than git so the
learning curve is not steep at all.